How to Optimize Your Business’s Google Maps and Search Listings

How to Optimize Your Business’s Google Maps and Search Listings
Learn how to create a Google My Business account and optimize it for Google search rankings.
You have your local business's website up and running. What’s next?
If you think that customers are going to flood your stores or purchase your products and services in bulk right away, then you are wrong.
Getting your website ready is just one step towards a successful business.
Consider claiming and verifying your company’s listing on Google My Business (GMB). This is one of the most important places where your business can be found locally.
This article will explore some ways to optimize your Google My Business listing.
Step 1: Understand Google My Business
GMB is a free service offered by Google. It helps businesses manage their online presence across the search engine and get better local exposure.
Google has Local Search results, which list nearby businesses that people see when searching for either a specific business or a broad category (i.e., “brunch places in denver”).
This is an example of local search results you may see if searching “places to eat in Los Angeles.”
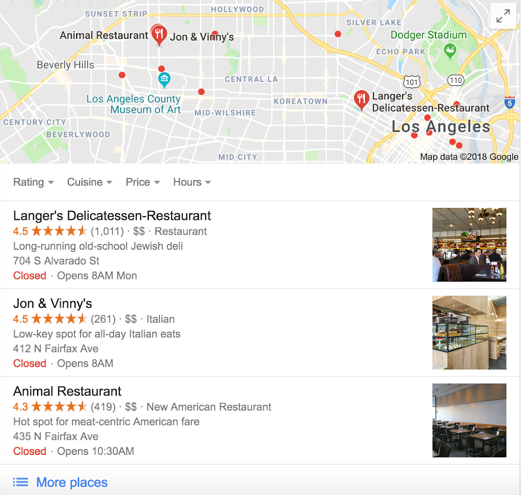
But note that if searched from different areas, the results might vary. As you can see in the next screenshot, there are some more places to that Google has to show:
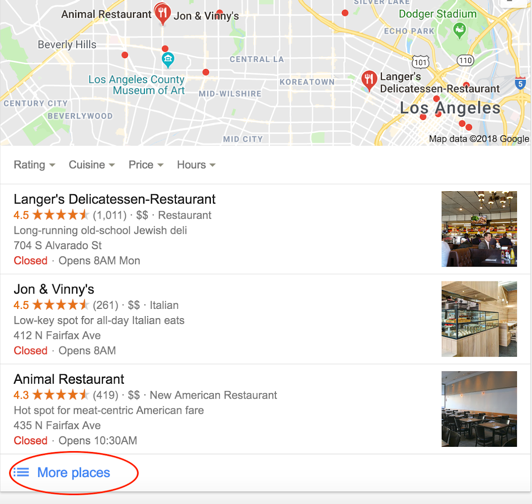
Optimizing your Google My Business listing may increase your chances of being featured when people search for your category of business.
Now that you understand what Google My Business listing is, let’s see how you can actually create one.
Step 2: Start Your Own Google My Business
First things first, search on Google to check if your business already has a GMB listing or not. If your business has been around for a few years, then it’s likely that it already has a listing which you will have to claim.
Once you claim it, go ahead with managing your company information.
Head over to the Google My Business page and click Start Now. You’ll see this:
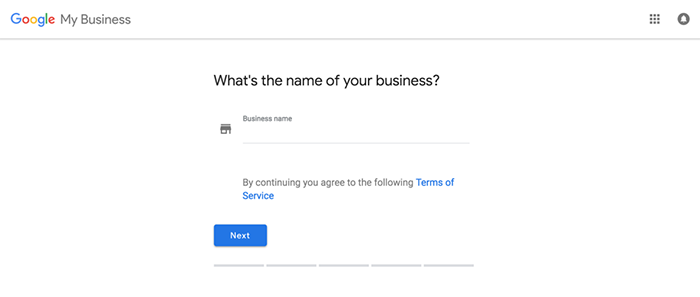
Make sure you read the Terms of Service before you add your business’s name.
Afterwards, there are screens where you should add your location data, address, phone number, website, and other company-related info.
Once you do all of this, you are told that a postcard with the verification code and instructions will be delivered to the indicated address within 14 days.
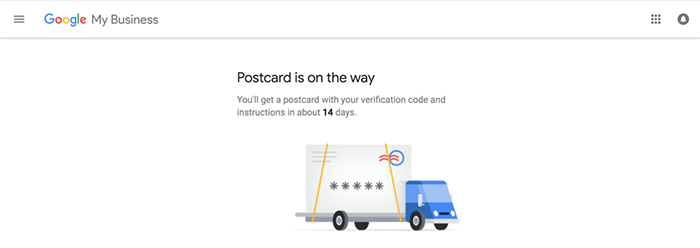
There is a “Customize Listing” button which you can click to add hours, contact information, a profile photo, a service/product description, and more.
Step 3: Provide Google With All the Information It Asks For
Google will ask you many questions to complete your Google My Business profile. The more information you provide, the easier it will be for your potential customers to find you in Google search listings.
It’s important to know that if you don’t add information, someone else potentially can.
Anyone can “suggest an edit” for your listing.
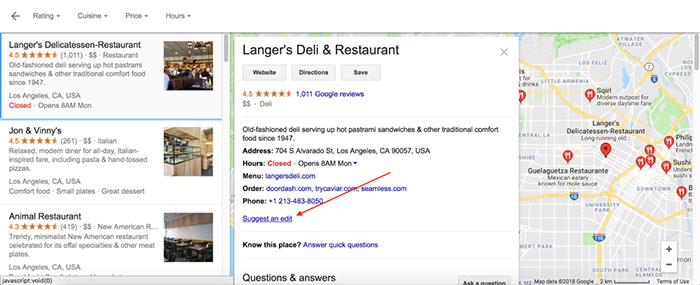
It means that even your competitors can add information for you, which can have dramatic results, especially if you don’t take care of your Google My Business account.
Also, Google might ask people whether they know about your business or not. There are chances that some people will answer in a misleading way.
Make sure to add as much accurate information to your Google My Business listing as possible.
Step 4: Add Relevant Images
Nothing angers customers more than irrelevant content and photos. Make sure to add images that are related to your business.
If it’s a restaurant, you can add photos of your restaurant from inside and outside, as well as photos of meals.
Langer’s Deli and Restaurant has photos of their restaurant, as well as tempting photos of their delicious sandwiches.
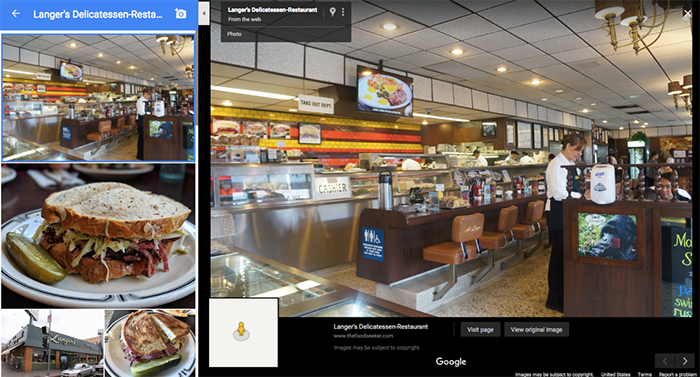
Be sure to add more than one photo. Avoid irrelevant photos, or low-quality photos.
Step 5: Leverage the Benefits of Categories
You should also assign your GMB listing categories. These include descriptors such as “pizza restaurant,” “nail salon,” or “grocery store.”
Remember, categories are there to describe what your business is, not what it does. Make sure to add relevant categories.
A lot of businesses either fail to include categories or they add irrelevant categories. Be specific, informative and descriptive.
Every little detail can make or break the deal for your business listing. Restrict your use of categories to 2-3 to help Google easily identify your business among many others.
Step 6: Add a Fresh Post
Google Posts show up in Google search in your GMB listing. These posts are like mini-ads that you can place to tell about an upcoming event or a specific product or anything interesting that comes to your mind. You can add an image, a call to action, and even a URL to each post.
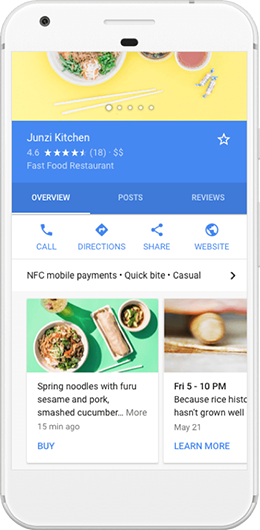
Note that Posts stay there for a week and then they disappear. Afterward, Google will send you a reminder to make another post.
Step 7: Keep an Eye on Reviews
Like in any other platform, reviews are key.
Why? Because 92% of consumers now read online reviews. Reviews can help your business stand out from the crowd. The best thing about Google business reviews is that Google actually encourages businesses to kindly ask for reviews from their customers.

Regardless of whether customers write good or bad reviews for you, make sure to respond to them politely. There are two benefits to this:
● The customer will see that you appreciate their feedback.
● Your potential customers will see that you do care.
Make sure not to panic due to negative reviews. Be sure to promptly address any concerns about your business brought up in a negative review.
Google My Business Listings Can Empower Your Business
There are many ways to optimize your Google My Business listing.
You should keep an attentive eye on your GMB dashboard so that you can update it regularly, answer people’s questions, and provide comments to feedback. This all can add credibility to your business and help it stand out among the competition.
